Adding & managing items
Updated
Everything an item can hold — condition, quantity, photos, tags, notes.
Items are the core of GearCache. Every checklist, every search routes through them. This article covers every field on an item and how to manage them once you have a few hundred.
The item form#
Items always live inside a category, so the Inventory tab opens to your category list rather than a flat list of items. To add an item, tap the category you want it in, then tap the + button on that category’s screen. (To edit an existing item, tap it from any screen and use the edit button at the top.) The form has these fields:
- Name — what you call it. Keep it short and searchable.
-
Description — a one-liner if you need it, e.g.
MSR PocketRocket 2. Optional. - Category — required. Pre-filled with the category you opened to get here, and you can change it from the form to any other existing category. There’s no inline “create category” — if you don’t have one yet, back out to the Inventory tab and add it from there. See Categories & tags for when to add a new category vs reuse an existing one.
-
Usually lives in — the location where the item normally sits when not on a trip. Optional, but worth setting; this is what the
from {location}hint on a checklist row points at, and what the post-trip review suggests as the return location. -
Default pack location — the location to write to the item when you tick it off on a packing list (i.e. where it goes for the trip). Optional too; if set, ticking the row on a checklist quietly updates the item’s current location, and the trip-end batch update can confirm the move in one tap. If unset, the row’s chip shows
Set destinationinstead and you can pick a per-trip location from there. - Condition — required. See below.
- Quantity — required, defaults to 1. See below.
- Photos — up to 5 per item. See Photos & attachments.
- Tags — free-form labels. See below.
- Notes — maintenance log, purchase date, repair history. Free-form text.
- Last checked — read-only timestamp shown on the item detail screen. GearCache stamps it whenever the post-trip review touches the item (a returned location, a condition update). Useful for things like fire extinguishers, first-aid kits, and anything that quietly expires; you don’t set it manually.
- Required items — other items this one needs to work. See Item dependencies.
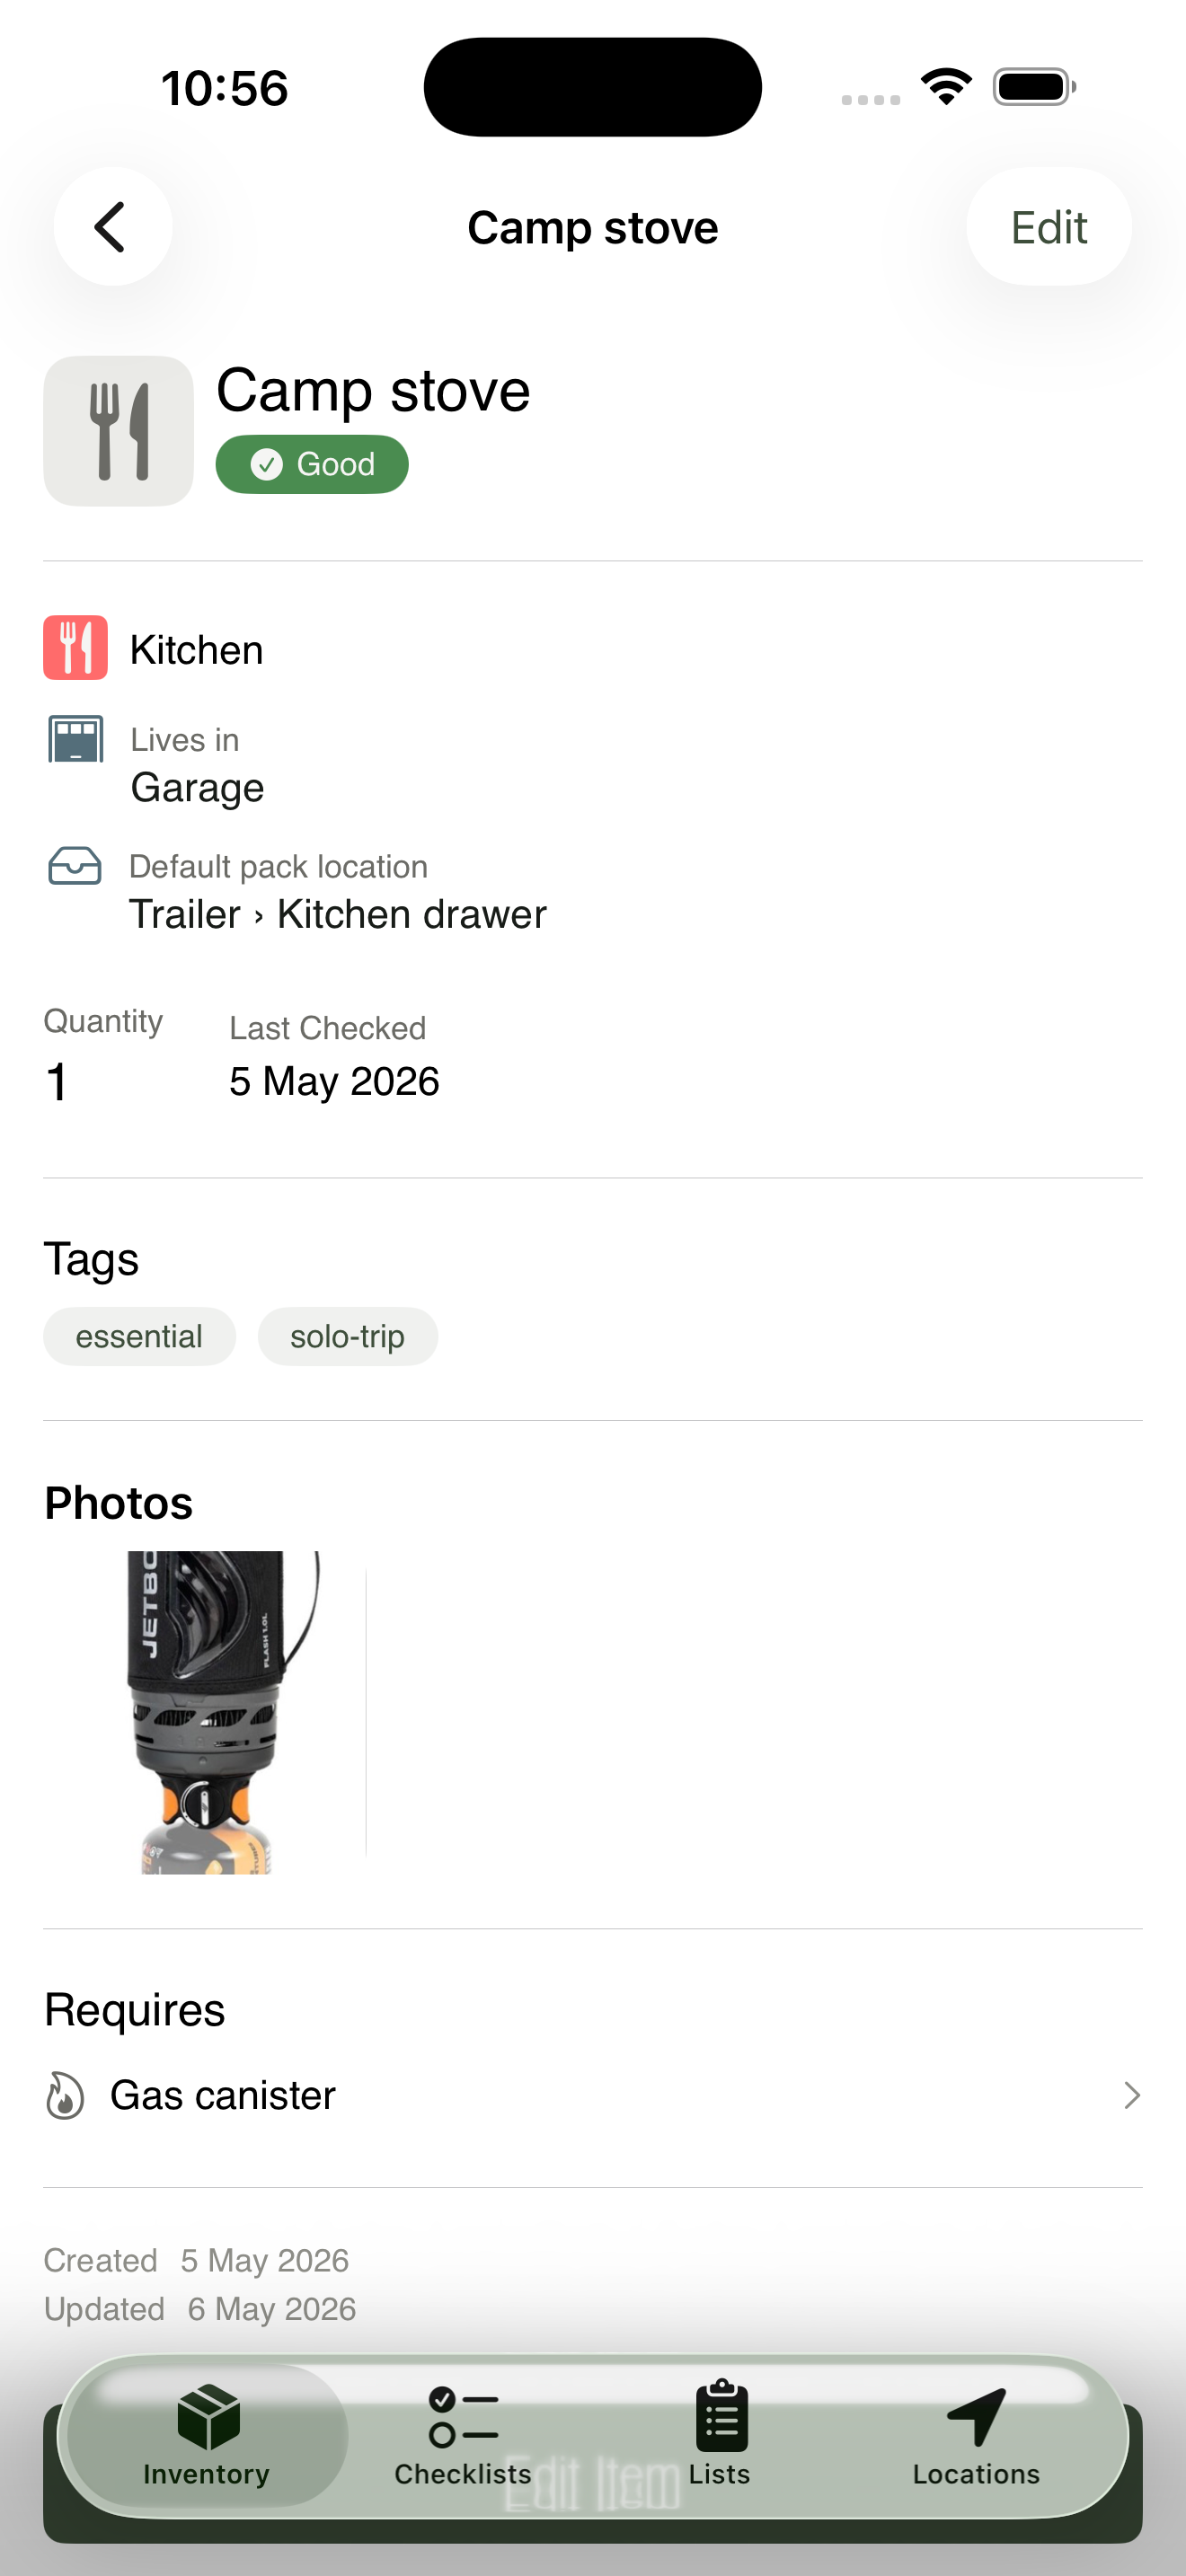
Every section of the item form, populated for a typical kitchen item.
Save. The new item appears in your inventory list immediately.
Conditions#
GearCache uses six condition states. They cover everything from “ready to go” to “throw it out.”
| Condition | When to use it |
|---|---|
| Good | Ready to use. The default for new items. |
| Fair | Works, but not perfectly. Worth flagging for replacement at some point. |
| Needs maintenance | Functional but due for a service — winch cable, gas regulator, tent zip. |
| Needs replacement | Broken or worn past usefulness. Don’t pack it. |
| Expired | Past use-by — flares, sunscreen, food, fire extinguishers. |
| Consumed | Used up — half-empty gas canister, last fire-starter. Reset to Good when refilled. |
Conditions show as small coloured badges on the inventory list, so a glance tells you whether the trailer is trip-ready or needs an afternoon of attention.
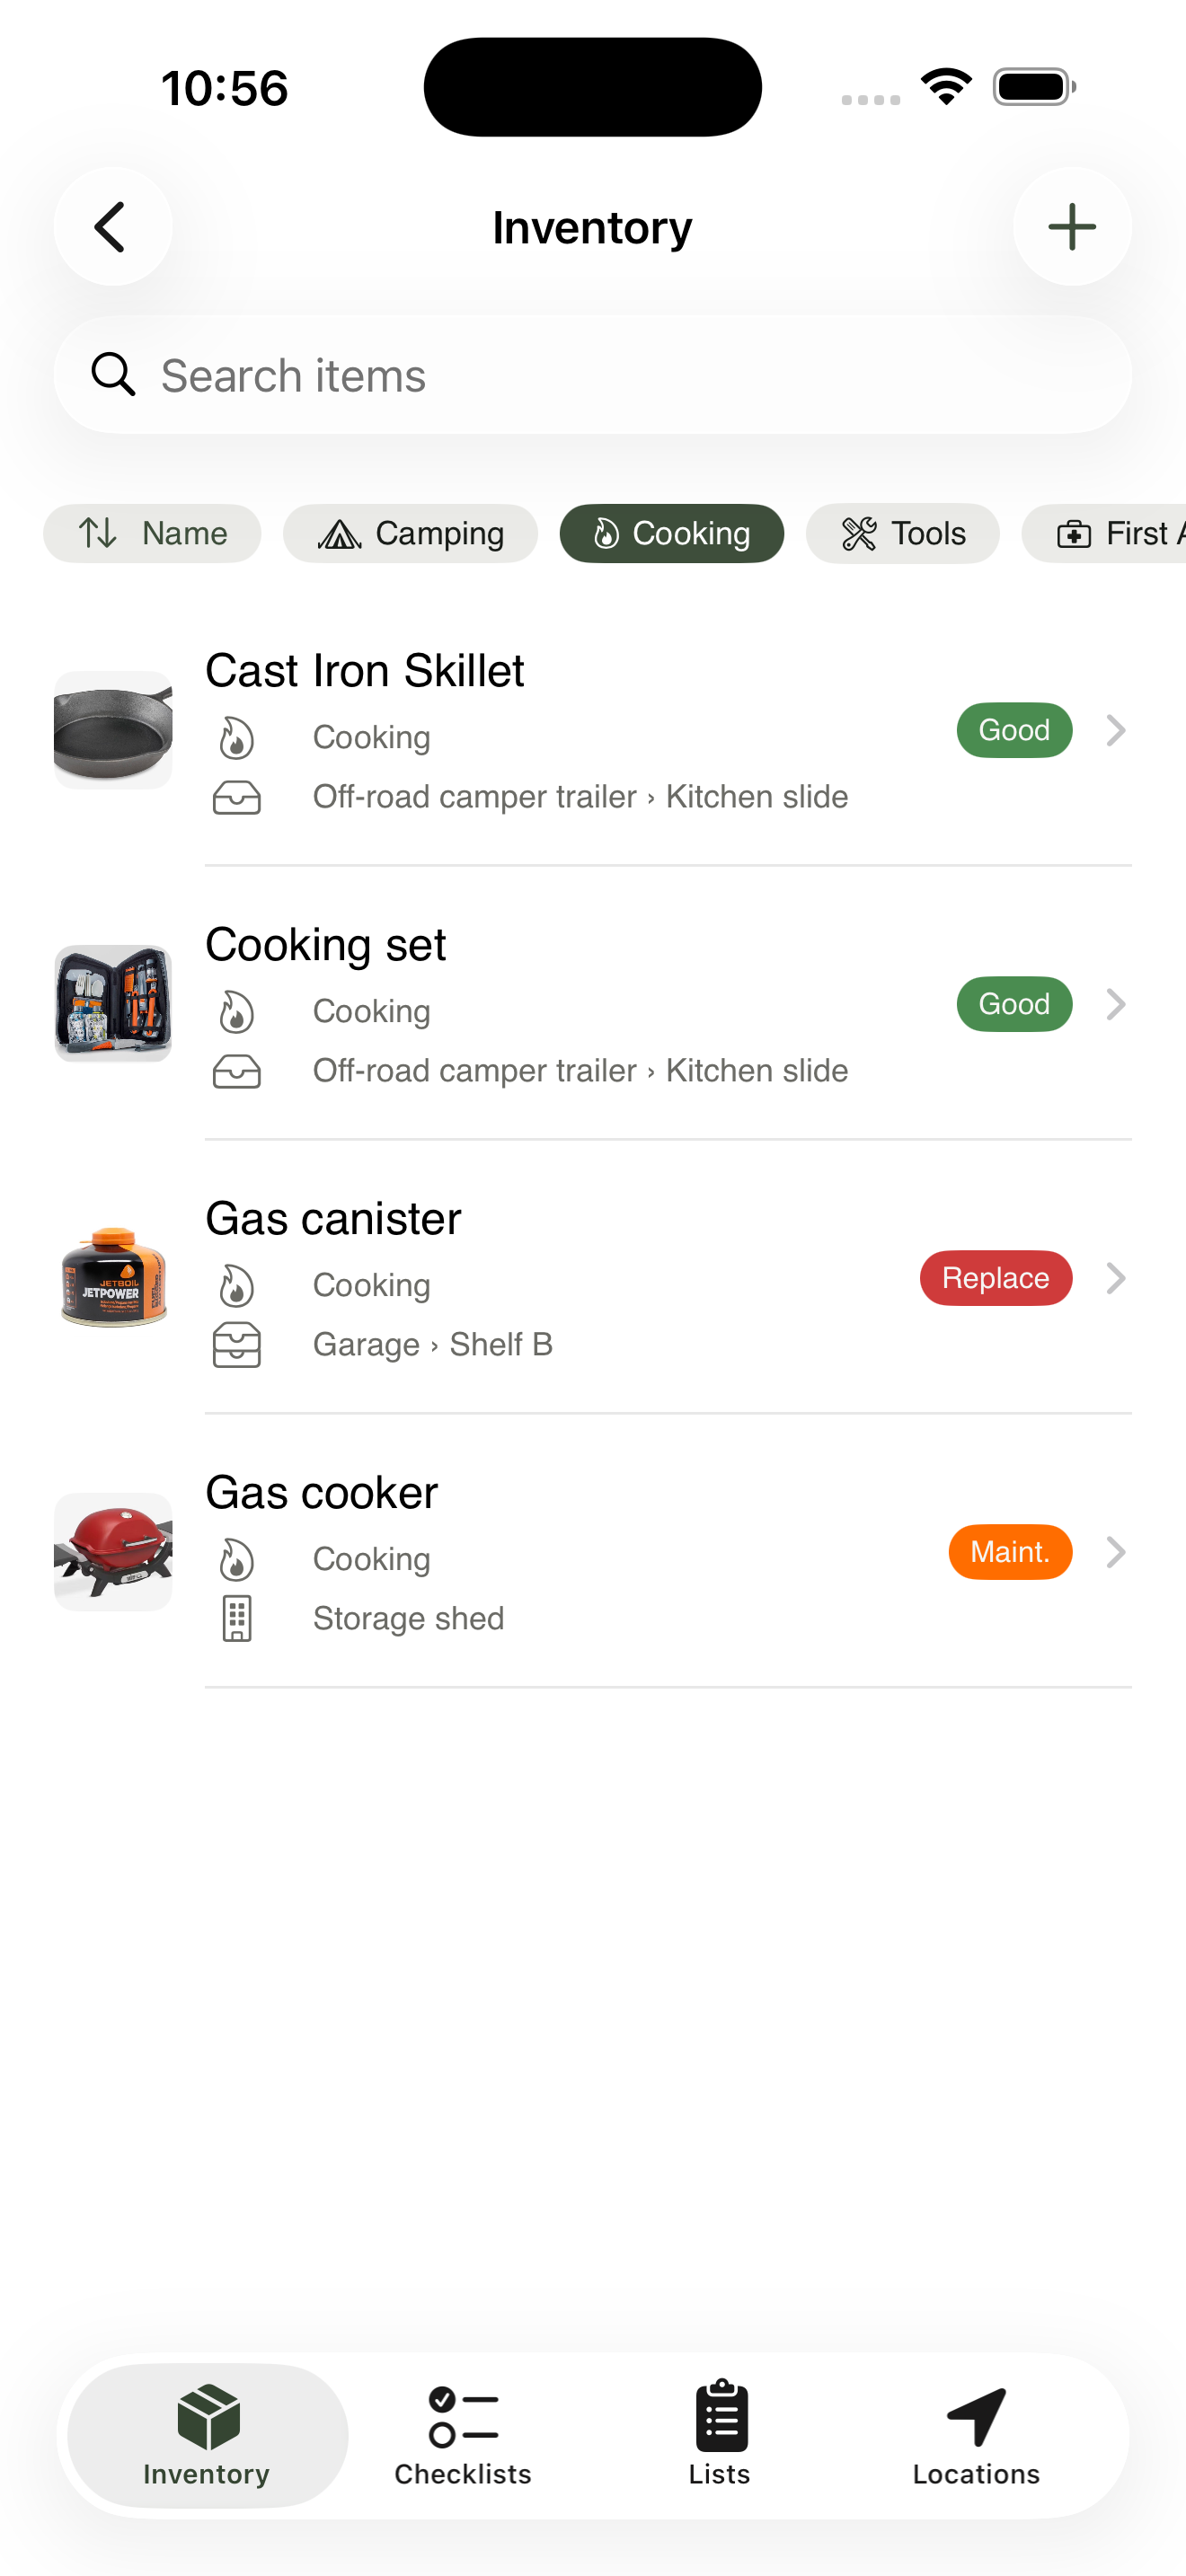
Conditions render as small coloured badges so a glance tells you what’s trip-ready.
Quantity#
Quantity is informational. It represents how many of an item you own — five carabiners, three dry bags, two gas canisters.
GearCache deliberately doesn’t auto-split items by quantity on a checklist. If you own two canisters and take one, you check the item off, then later update the location of the one you moved. Per-unit tracking would mean every canister becomes its own item — way more friction than the trade-off is worth.
Photos#
Up to five photos per item. Snap them in the field with the camera button, or pick from your photo library. Photos are stored locally on your device.
A photo of the item in context — sitting on the shelf where it lives — beats a clean studio shot. Seeing the surroundings is half the “where is it?” answer.
Tags#
Tags are free-form, cross-cutting labels. Categories answer “what kind of thing is this?” (Kitchen, Shelter, Tools); tags answer “what do I need to know about this for a trip?” Examples that earn their keep:
-
essential— never leave without it -
fragile— pack carefully -
borrowed— return it when you’re done -
weekend-only— too bulky for short trips -
winter/summer— seasonal -
kids— only relevant when bringing the kids
Tags are deliberately minimal — just a string. The flexibility is the feature; if you find yourself reaching for the same tag often, that’s a signal it might want to be a category instead.
Searching and filtering#
The search bar at the top of Inventory finds items by name. Combine it with the filter chips below for narrower views:
- Category — show only items in a given category.
- Location — show only items currently at a location (the whole tree, including children).
- Tag — show items carrying any of the selected tags.
- Condition — show items in a specific state.
Filters compose. Category: Kitchen + Condition: Needs maintenance is the pre-trip checklist of things to fix in the next half hour.
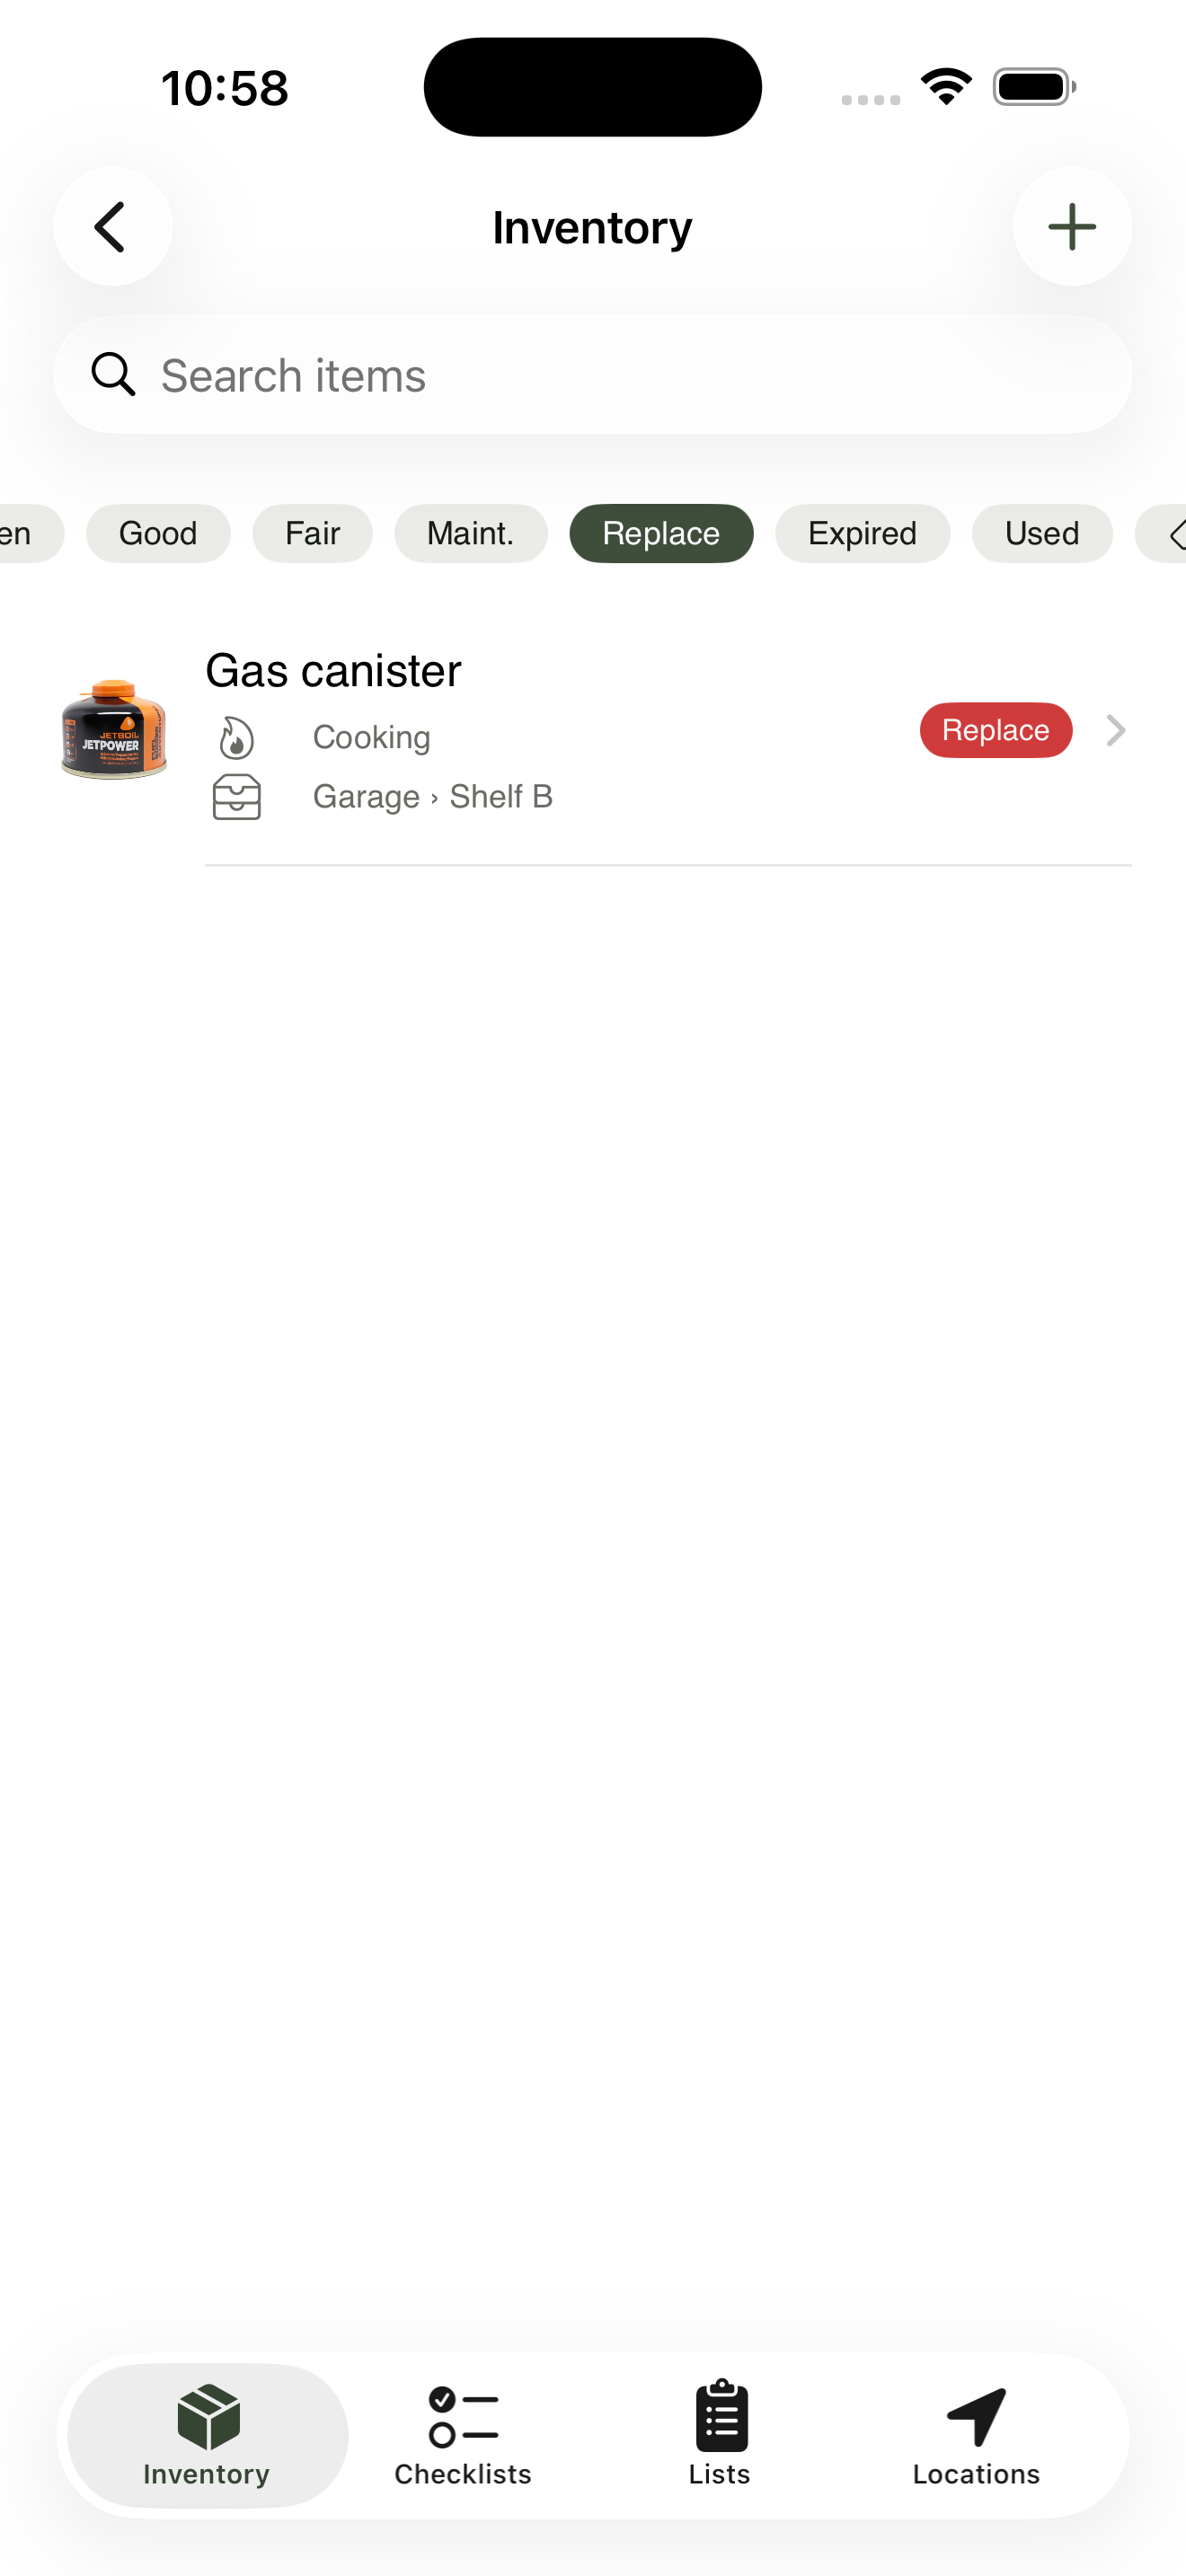
Filters compose; this view is everything kitchen-related that needs attention before the trip.
What to learn next#
- Locations & hierarchy — building a tree that mirrors reality.
- Categories & tags — when to reach for which.